Sketching and constraining tips
The following guidelines will help you more easily and quickly draw and constrain your models in Enventive Concept.
General sketching tips
- Start working in the right scale, and constrain as you go. After drawing the first line or circle, apply a dimension to it, adjust the value of the dimension, and Zoom All (Ctrl+Shift+A) to ensure you are working in an appropriate scale before you sketch additional objects. If you sketch a lot of geometry and apply dimensions later, you may discover that the model is too large or too small, and the geometry may move problematically as you apply the dimensions.
-
Apply dimensions and constraints based on how the component will be manufactured and inspected, not necessarily based on how a CAD model is created.
Dimensioning and constraining a model should take into account the following:
- The dimensioning scheme from the drawing.
- How critical features are likely to vary based on the manufacturing methods.
- The metrology systems and/or gauging that will be used to measure the parts.
-
Validate your model using Perturb. After generating a tolerance analysis report, perturb the contributors to verify expected results. The most important step you can take toward good tolerance analysis results is to validate the model by perturbing all of the key contributors and any potential contributors* with high sensitivity values. For more information about potential contributors, see RSS and sensitivity calculations.
-
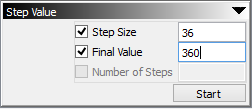
Step instead of jump. Changing the value of a dimension by a large amount can cause Solver errors, or it can cause geometry and constraints to flip and become incorrect. To avoid these problems, adjust the dimension to its final value incrementally using stepping rather than “jumping” straight to the final value.
-
Use the mouse wheel to perturb or step a dimension or perturb a constraint. When a dimension or constraint is selected, the middle mouse wheel perturbs its value based on the Step Size specified in the Perturb area of the Properties Explorer.
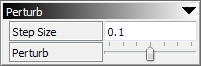
To step a dimension to a new value, hold down the Shift key while operating the mouse wheel. (Constraints can be perturbed, but not stepped—they always return to the nominal value.) Hold down the Ctrl key to “micro-step” by 1/10th of the current Step Size.
-
Use alternative methods to pan and zoom when dimensions/constraints are selected.
The mouse’s center wheel is the handiest way to pan and zoom. However, as described above, when you have a dimension or constraint selected, scrolling the mouse wheel steps/perturbs rather than zooming, so use one of the following methods to pan and zoom:
-
Your keyboard’s arrow keys: Shift + Up Arrow zooms in, Shift + Down Arrow zooms out, and the view pans in the direction of the arrow key pressed.
-
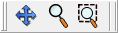
The main toolbar pan and zoom buttons.
- The Sketch view’s right-click shortcut menu options.
-
The View menu’s pan and zoom options.
-
-
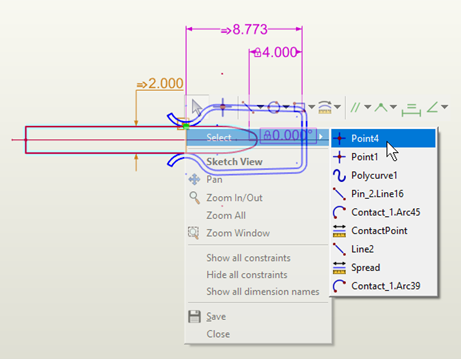
Use the Sketch view’s right-click menu to select objects that are close together. When several objects are close together, right-click near the object in the sketch and use the Select options from the right-click menu to select the desired object. As your mouse pointer moves over an object in the selection list, the sketch object will highlight in green, with its connected objects highlighted in orange, to help you to identify it.
-
Click on a circle/arc or its centerpoint when applying a dimension or constraint to the centerpoint of a circle/arc.
-
Use the Ctrl key to extend-select multiple objects; for example, to change the color and layer for groups of lines and arcs or to change the tolerance values for multiple dimensions at once.
-
Refer to the Tooltips. Some tools involve multiple steps. Each tool button displays a tooltip when you hover your cursor over it.
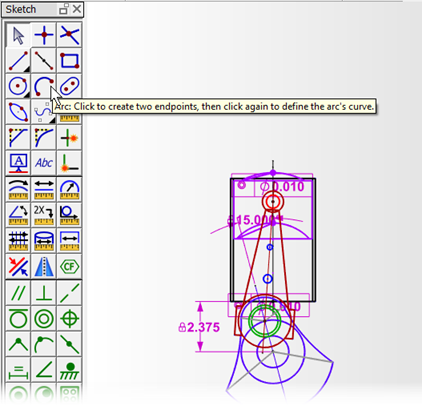
When a tool is active, the tooltip also displays at the bottom of the Enventive Concept window.
-
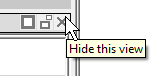
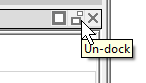
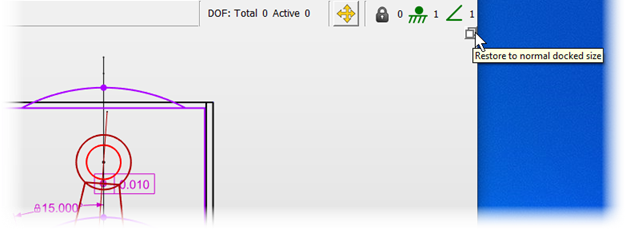
Increase sketching space by using the Maximize button in the Sketch view’s upper-right corner.
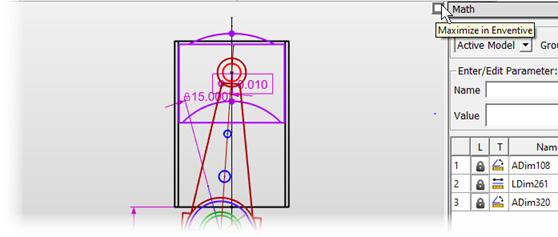
You can return the Sketch view to its normal size using the Restore button.
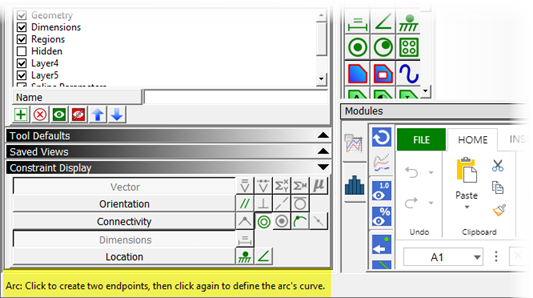
To further increase sketching space, you can either hide or un-dock and relocate the Sketch toolbar and the Properties Explorer, Model Explorer, Math, and Modules views using the buttons in the upper-right corners of their views.